


In this episode of Oh Shoot! Cassidy Lynne (@cassidylynne) shares the best ways to approach shooting in direct sun.
If you want to see example direct sun photos, be sure to watch on Youtube or listen to the full podcast on Spotify!
Time of Day for Direct Sun
The first element of shooting in direct sun is the time of day. Typically direct sun is anytime that isn’t golden hour. Knowing what time of day you’re shooting and where the sun will be at the time is a huge thing to think about. A lot of people prefer to shoot at golden hour which exists when the sun is setting in the evening, but today we’re talking about the sun that exists for the rest of the day from sunrise to before sunset.
Pick your time of day wisely
There are going to be times where the ideal times for a session with clients are during hours with bright sun. When trying to figure out the time of day, always go for the earliest or latest slot possible with whoever you’re booking with because the sun will be easier to work with the lower it is! In my opinion, the hardest thing to deal with is when the sun is at its highest point, so usually around noon depending on the time of year.
Find Shade or go Downtown
If my clients can only shoot during high noon, whenever the sun is the highest, I try to find locations that have shade and will be shaded during that time of day. For example, downtown and places in the city, usually have great examples of this. Maybe you can find buildings that cast shade everywhere. Or even a park or forest during high noon with big looming trees for shade.
So if you find yourself needing to shoot in the middle of the day try to find locations that are majority shaded.
What To Do If You Cannot Avoid Direct Sun
If you cannot avoid direct sun, you are going to either work with the sun or hide in the shade.
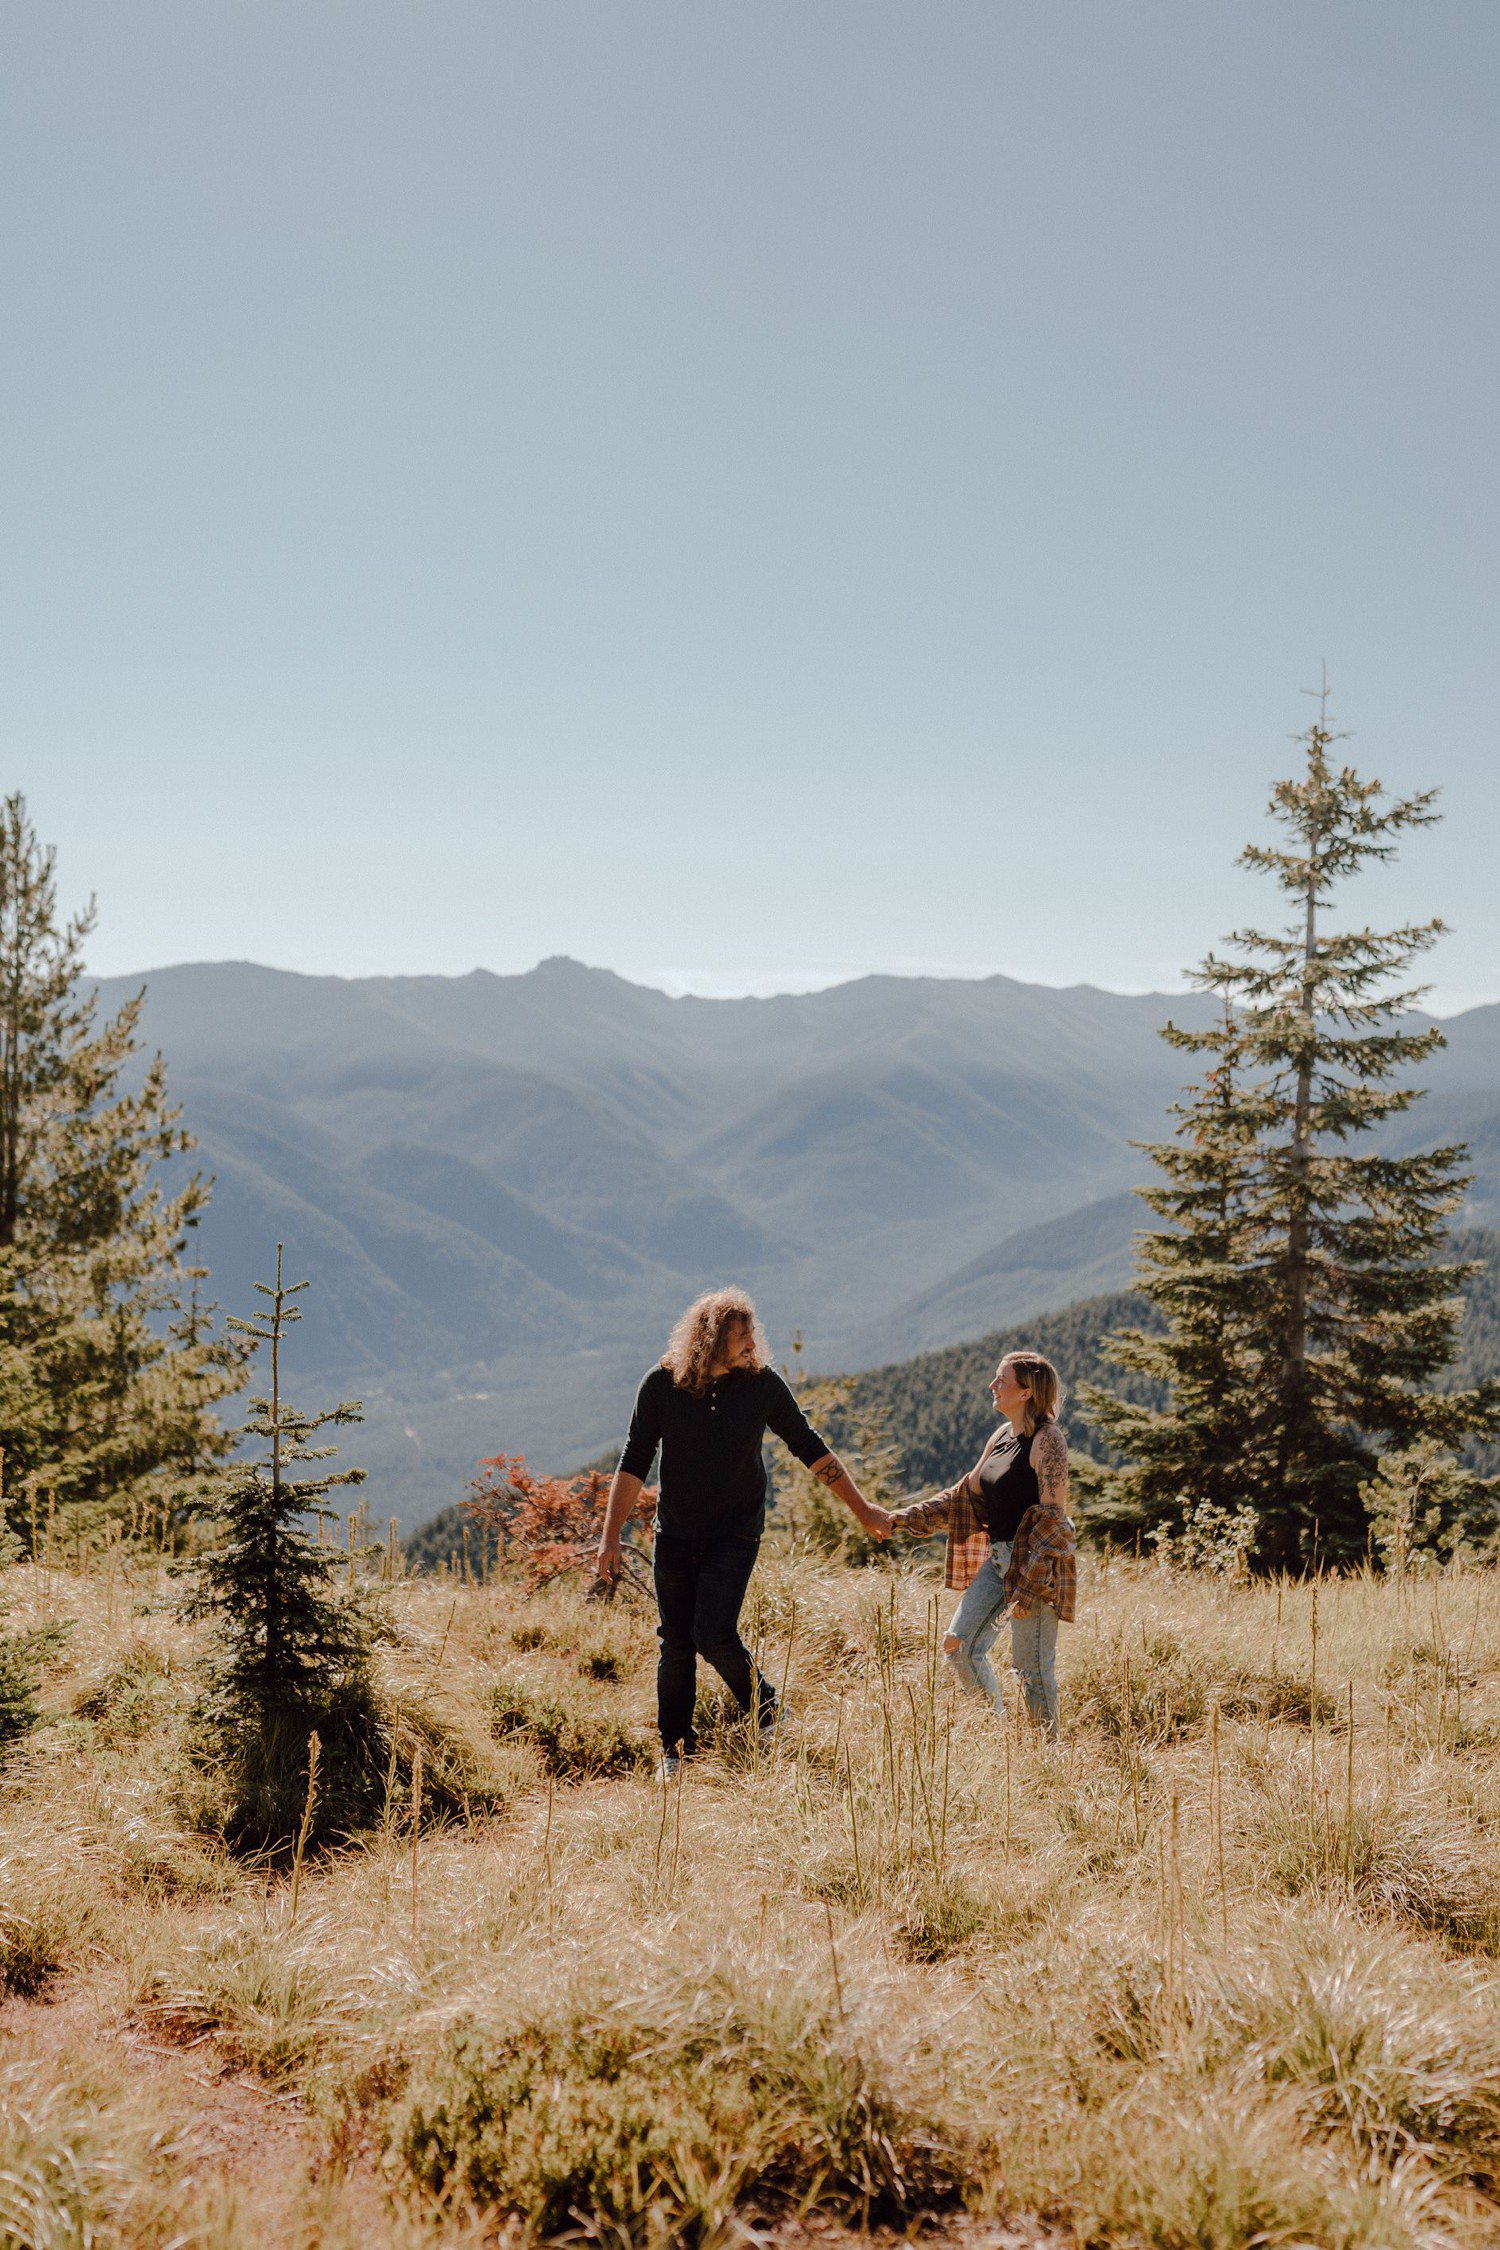
Photographing in Full Sun
Full sun is when the sun is fully on your subject. When you are shooting like this you want to avoid shadows and especially avoid making shadows on your subject’s faces. Position them so that they are evenly lit completely by the sun and are looking into the sun. It’s going to be bright for them, but that’s what full sun is.
Typical Camera Settings for Full Sun
ISO: 50 (as low as your camera will go)
Aperture: f 2.2.
Shutter 1/2000 or as high as needed to properly expose.
Direct sun can be a total vibe! If your clients are having a hard time keeping their eyes open in full sun, give them a countdown. Have them close their eyes and be in the pose and count down to three for them to open their eyes.
Sun Behind Your Subject
The next option for shooting in full sun is shooting with the sun behind your subject. This can be hard if the sun is too high and you’re trying to get the sun behind them. You might have crazy shadows and need to wait for the sun to go down a bit.
Remember the sun is never going to be directly above your subject. There’s always going to be a point where the sun is a little bit one way or the other, so find that spot where the sun can be behind.
I prefer this IF I can’t find any shade. For example, if I’m put in an open field where it’s bright and sunny and have to photograph a session, I’m going to put the sun behind my subject and take photos like that. The background, foreground, and all of that area might be really bright, but it’s going to cast an even shadow. Your subjects are going to be shaded on their front side because the sun is behind them so it’s going to be even lighting.
Editing backlit photos can be tricky, so remember to watch out for shadows. It can be easy to rotate your clients slightly where the sun is becoming a little bit more prominent on one side of the face and casting a bit of shadow on the other side of the face. You want to avoid shadows like that and be very aware of the sun, especially when shooting backlit. Try to use the shade evenly!
Find A Patch of Shade
My top preference is finding a patch of shade. Typically, if you put your clients in the shade of something it’s usually a tree, big rock, a building, etc. Still keep your eye on the sun and keep that shaded spot as backlit as possible with the sun behind you.
Finding patches of shade has saved me in a lot of situations. For most weddings we do a huge chunk of photos from 1 to 3 p.m. since most people want to do their first look and photos before their ceremony. There’s no getting around that, so this is helpful if you find yourself in a scenario where you’re shooting at that time of day a lot. Find shade, shoot backlit, or shoot evenly lit with full sun.
Half Sun & Half Shadows
You can let the shadows shine through if it’s the mood. This is something I don’t personally love the look of. You can position your subjects so that half of the sun is on half of their face and then the other side is shaded. There are areas on the face that aren’t flattering to have in shadow like under the eye sockets and underneath the nose. You can have your subjects tilt their head to try to avoid shadows.
If I’m using shadows in my photos it’s all for a moody vibe. The pose you do for half sun and half shade is key for creating the moody look.
Indoor Sun
Believe it or not you can still shoot indoors and get direct sun. For example, my recent merch shoot was indoors. The backdrop had really good natural light coming in from the window and there was a point where more direct sun was coming through. It was a total vibe!
When the sun is like that, you have a couple of options. The same rules apply as earlier and it’s all about turning your subject:
- facing the sun for direct sun and full even lighting
- turning your subject to half face the window and half in the shadows for a more moody look.
- turn away from the sun for a backlit look
Shooting with the sun through a window is so pretty & diffused so USE IT!
Lens Flares
A lot of people either love or hate lens flares. I personally love a good sun flare! Lens flares can be pretty, but also annoying because they’re hard to edit out once you have a lens flare.
If you want a sun flare, you have to shoot directly in the sun. The sun will need to be somewhere visible to have a sun flare. You can shoot towards the sun or put the sun a little bit out of frame to get a lens flare. Take some test shots and keep an eye on your viewfinder to see if the sun flare is there.
To avoid a sun flare in your photos, put the sun behind your subject to block it. And avoid shooting with the sun directly pointing into your lens. Remember, it’s hard to remove and edit out a sun flare once it’s there!
You can also add a bit of lens flare in Lightroom with a brush or the radial filter! You can see my video on creating a sun flare with a brush here!
That’s going to wrap up today’s episode on shooting in direct sun and I hope this episode enlightened you! 😉
Show Notes
EMAIL TEMPLATES FOR PHOTOGRAPHERS: Take me there!
Shop New Merch Here!
Get 50% off Honeybook here: http://share.honeybook.com/cassidylynne
Want more free education? Check out my website for photography freebies, presets, & courses!
Are you a part of our photography Facebook community group? Go to http://facebook.com/groups/cassidylynne/ and join the discussions of thousands of other photographers.
Follow Cassidy!
Instagram: @cassidylynne
